


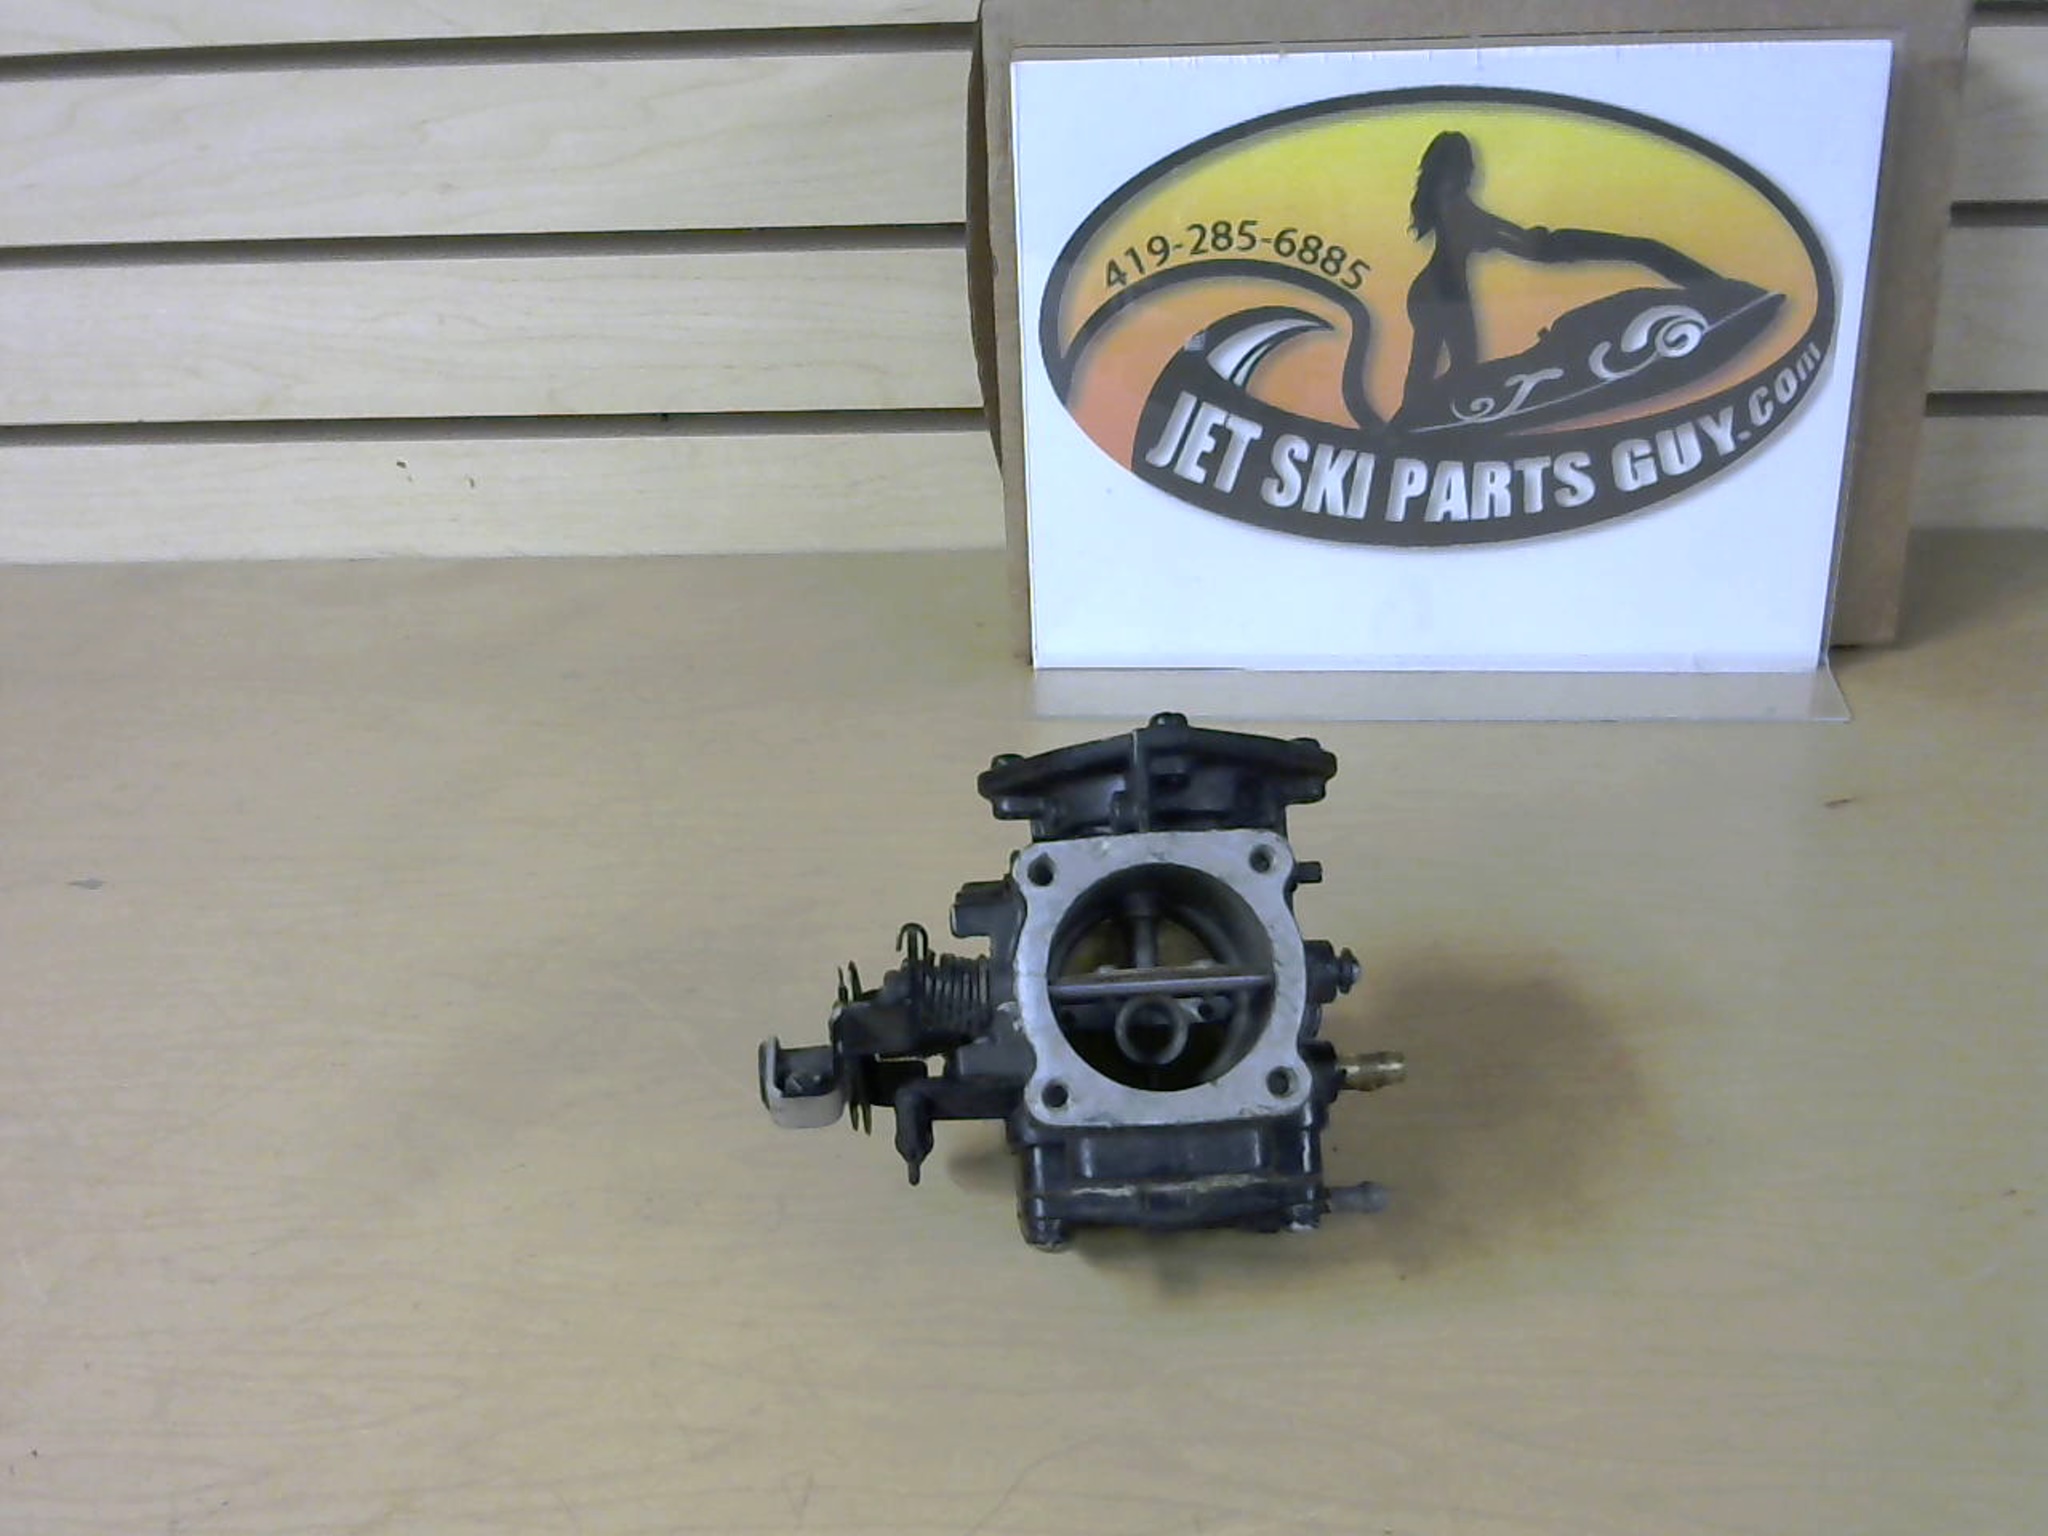
How To Rebuild a Carburetor – Jet Ski Carburetor Rebuild – Jet Ski Carburetor Kit
Looking for how to rebuild a carburetor? There are a large number of stores and people that specialize in selling high quality carburetors and carb kits. However, it is cheaper if you have some proper knowledge on how to fix or rebuild a Jet Ski carburetor by yourself.
How to Rebuild a Carburetor
You should know that there are two types or two generations of carbs. One generation is prior the year 1989 – the Mikuni carbs. These are so called “round pumps” that only come in 44mm and 38 mm sizes. They worked well, but they were a bit unpredictable because the pumps often had troubles with the supply of fuel to the racing engines. The next generation of carbs is called “square pumps”, and they got introduced in 1990. These were much improved and they are able to produce a lot more fuel pressure than the earlier designs. A new feature in these square pumps is that they have changeable low speed and high speed jets.
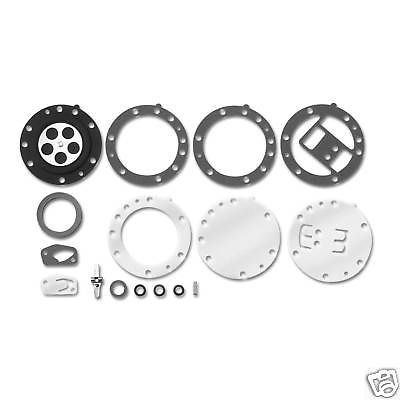
If you decide to buy a Jet Ski carburetor kit it will have all the parts necessary for you to rebuild a carburetor, including the gaskets and diaphragms. Many people ask one common question – why do you need to rebuild the Jet Ski carburetor? Well the main two reasons are the ethanol and the proper winter storage. Failing to put a stabilizer for the gas can cause moisture or water to get inside the gas tank. If this happens and if there is water inside the gas tank sitting there during the winter period, problems will occur eventually. The other problem, ethanol, can eat away the plastic and rubber parts in the gas tank, which will significantly limit their lifespan. It is highly recommendable that you rebuild the carburetors of the Jet Ski once in every couple of years.
When a small engine is sitting unused for longer time period, like during the winter, the carburetor will gum up and it will prevent the engine from working properly. You must clean up the carb before you put a clean fuel in the machine. Cleaning the Jet Ski carburetor takes several supplies, but it is well worth and valuable thing to do, as it will extend the jet ski’s life. Failure to properly maintenance your current carb will prolong your search on how to rebuild a carburetor.
You can also adjust the carburation with a process called power tuning. The Jet Ski can be held on a trailer which is backed into the water or in a test tank. This way the adjustments can be done while the Jet Ski engine is running. This type of adjusting is not a perfect way for achieving the full throttle or mid-range settings, but is good for getting the carburetion close. The altitude and weather can be a big factor during the tuning. The higher altitude, temperature and humidity will require you to go leaner. The water temperature does not have a big effect on the fuel mixture.
Before entering the water you should check for air leaks. If the engine is with two cycles, the lower end must be air tight to around 10 pounds per square inch, or PSI. If there are some air leaks on the surface of the gasket, small amounts of air will start leaking in the lower end. About half of used ski jet engines have an air leakage. There are lots of inexpensive test kits which allow you to quickly check out and locate the potential leaks in the Jet Ski engine. Jet Ski engines with small air leakage will never carburate properly.
When rebuilding the Jet Ski carburetor, confirm that the carb gaskets have a drying sealer that is soft. Also the carb mounting bolts need to be torque. Check out and confirm the full opening and closing. When the flame arrestor is off, make sure that the carb butterfly can be completely closed with the handlebars in the full right and left positions and with the handle pole pushed all the way down.
When learning how to rebuild a carburetor one test to check out for leaks is to follow the next procedure. First you should remove the return line fitting on the carb. Then, seal off the return fitting on the carb, while blowing in the return line. This way there will be pressure in the fuel system. In quieter place you should be able to hear if there is any remaining leakage in the system. As soon as you remove the finger used for sealing the carb fitting, some fuel will drip eventually. This is an indication that the chamber is full of fuel.
The round pump carbs are created with return fitting on the carb that is unrestricted. Because of this, they return lots of fuel back in the tank so the fuel circuits often get starved for gas. If you use round pumps, make sure that you have a restrictor jet in the return line with an inside diameter of no more than 75 millimeters. All of the square pump carbs from the newer generation have proper built-in return line restrictors.
Dual carbs are also very popular, but they do require a bit more maintenance and adjustments. You will get a pretty good performance for your Jet Ski, together with the simplicity that you want, if you get a good single carb upgrade kit. The pop off pressure between the dual carbs should not be greater than one Psi. Remember when learning how to rebuild a carburetor before you make any tuning, visually inspect and confirm that the throttle butterflies are opening and closing completely. When you set the mixture screws, you should keep the settings completely identical between the carbs, unless there are different instructions in the carb kit.
After you have finished with setting up the most optimal settings for the carb, make some kind of record of it. The best place for this type of record is underneath the hood. Note the final settings for the adjustments and the pressure. If there is enough space, record the low and high speed jet sizes, together with the day`s temperature. Hopefully you know have an idea on where to start for how to rebuild a carburetor. Obviously with so many makes and models it makes sense to follow the kit instructions that come with your rebuild kit specific to your machine.
Thanks for reading. For even more how-to and educational guide please check out our article section. Ride Safe!


